Ombre Backdrop Studio Photography
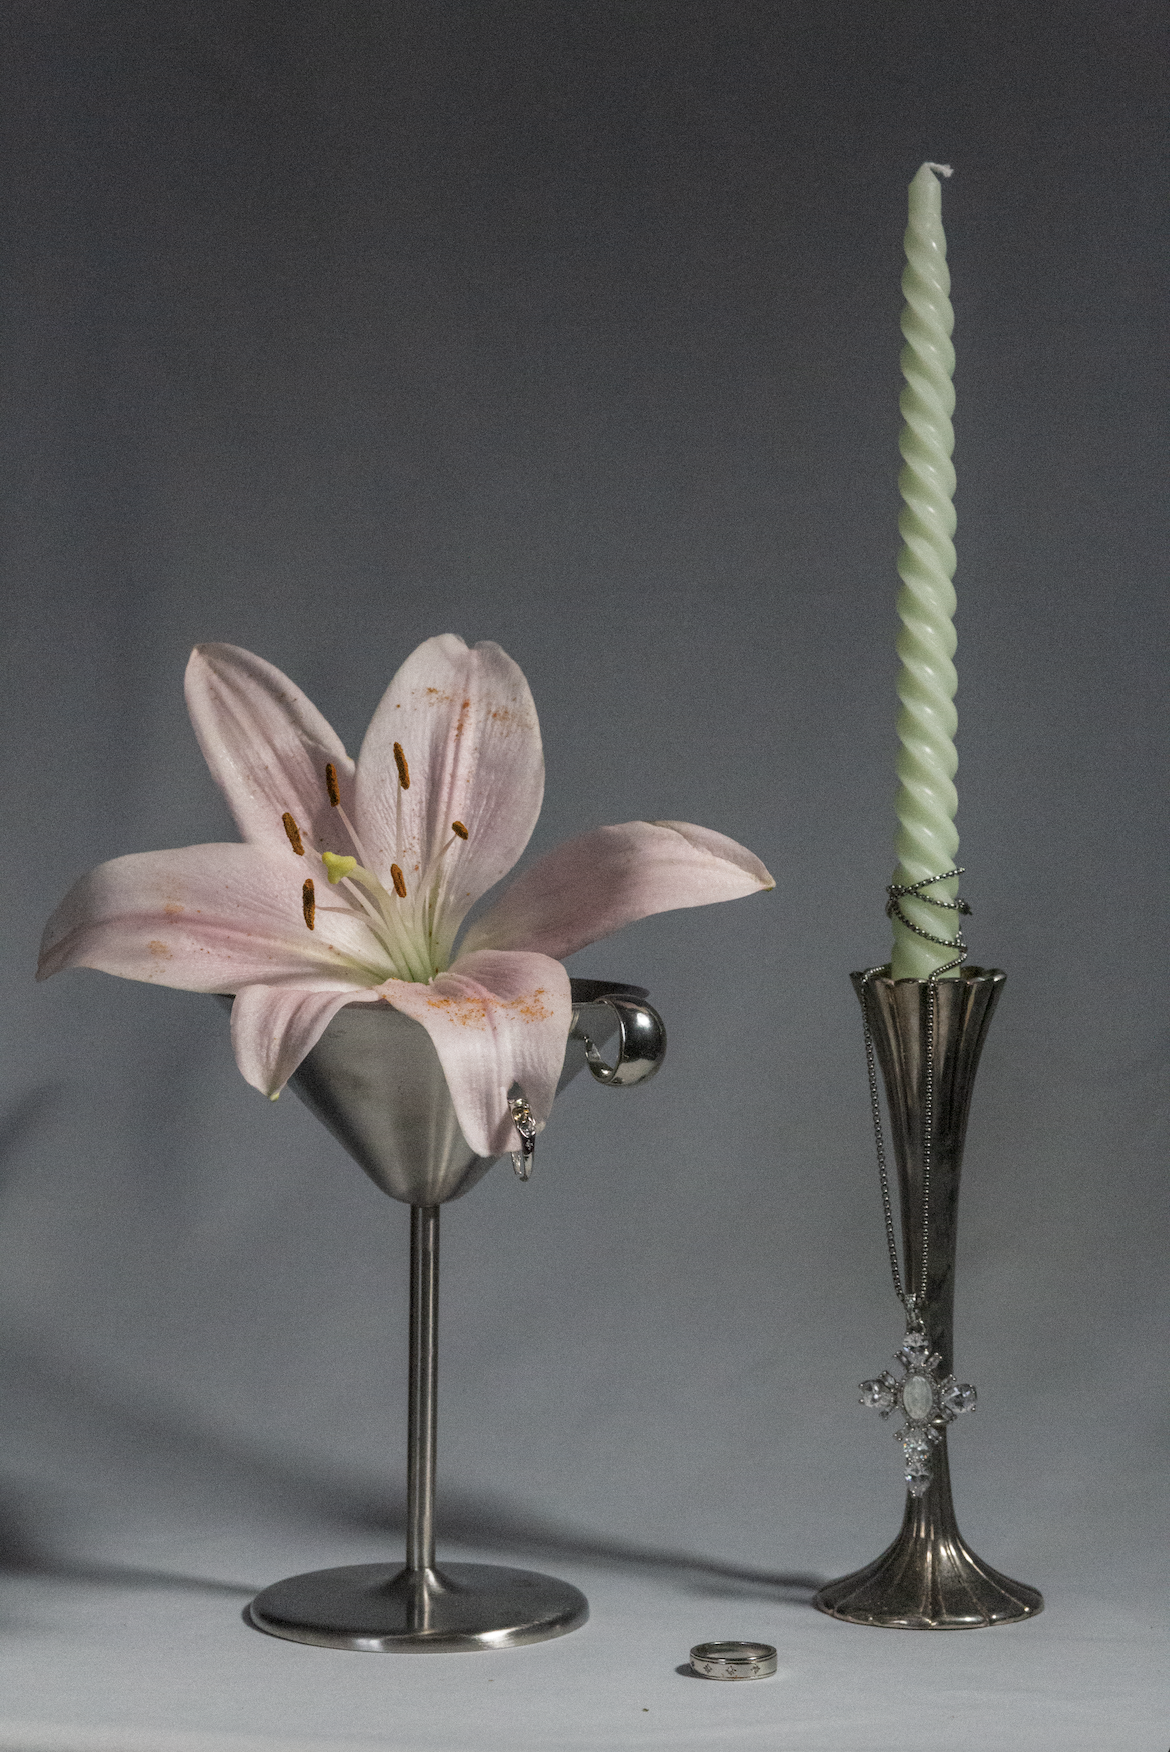
An example of ombre effect achieved
through lighting alone.
Have you ever seen an editorial image with perfect ombre background and wondered how that effect is achieved? The Ombre backdrop style can dramatically elevate your studio photography when done correctly.
There are two ways (at least) to achieve ombre backdrop effect in a studio setting, in this article we will cover both, and the materials needed.
The first way to achieve this effect Utilizes a solid color backdrop paired with grid overhead lighting. The light is attached to a C-Stand and placed overhead your subject. This source can be modified with a grid to narrow the lighting source (as pictured left).
The solid color backdrop is rested underneath your subject, the height of the backdrop should be high—allowing for you to experiment with the slope of the backdrop to achieve the ombre look you desire. As the overhead Key light falls off the slope of the backdrop it will chieve the ombre look.
place a secondary light on one side of your subject, slightly behind, to light the edges of your product (or model). This will apply a halo effect to the model the farther behind the subject it is place.
The second way to achieve Ombre background while allowing for lighting variety and experimentation is simply to buy or make your own ombre backdrop. This can be done with a variety of materials, but for large scale situations such as fashion photography, ombre backdrops are often large sheets of canvas hand painted by the photographer. Some noteable photographers thaat use this technique are ________.
The most affordable way I’ve found to do this is simply to order ______ canvas. Order ____ paint from _____, and paint with a wood handle brush.
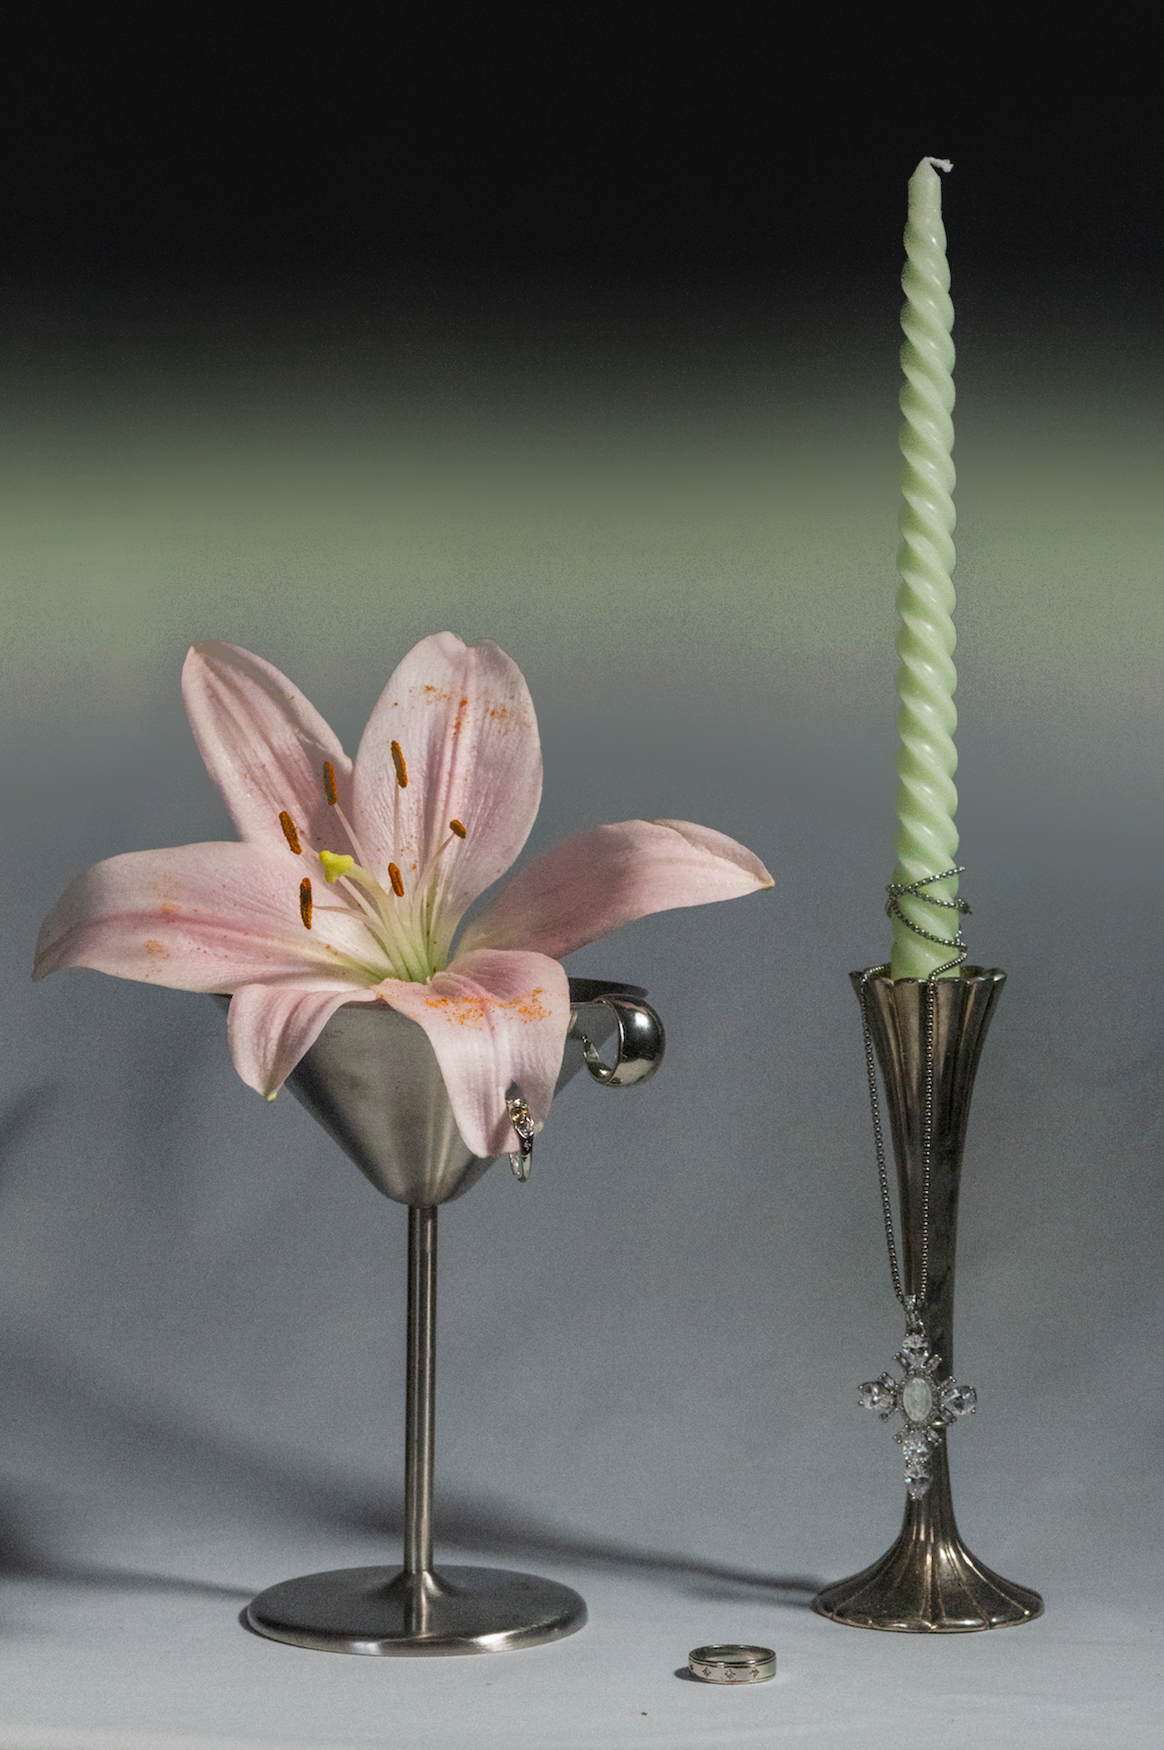
The third way to enhance, or achieve this effect is in the editing process.